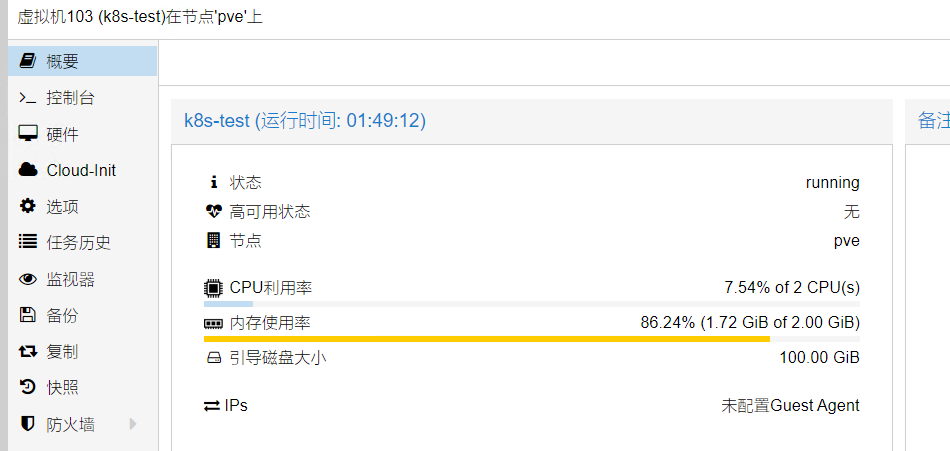
需求:本地开发需要一个简单的K8s实验环境
环境:
(1)系统:Centos7.9 x64(proxmox 下的虚拟机 2核心2G 100G硬盘)
(2)容器:Docker 18.02
(3)kubectl:12.02
(4)minikube 1.24

流程:
1.proxmox创建虚拟机(具体略)
2.运行虚拟机安装 Centos7.9(具体略)
3.使用SSH工具连接虚拟机
4.安装Docker
(1)
yum install -y yum-utils device-mapper-persistent-data lvm2
(2)
yum-config-manager --add-repo https://download.docker.com/linux/centos/docker-ce.repo
(3)
yum install docker-ce-18.06.3.ce
5.启动docker
systemctl start docker
systemctl status docker
systemctl enable docker
6.安装 kubectl
(1)安装文件
wget -c "https://dl.k8s.io/release/$(curl -L -s https://dl.k8s.io/release/stable.txt)/bin/linux/amd64/kubectl"
安装:
sudo install -o root -g root -m 0755 kubectl /usr/local/bin/kubectl
7.安装 minikube
(1)
curl -Lo minikube https://kubernetes.oss-cn-hangzhou.aliyuncs.com/minikube/releases/v1.18.1/minikube-linux-amd64 && chmod +x minikube && sudo mv minikube /usr/local/bin/
(2)优化参数
vi /etc/sysctl.d/kubernetes.conf
加入:
net.bridge.bridge-nf-call-iptables=1
net.bridge.bridge-nf-call-ip6tables=1
net.ipv4.ip_forward=1
vm.swappiness=0
vm.overcommit_memory=1
vm.panic_on_oom=0
fs.inotify.max_user_instances=8192
fs.inotify.max_user_watches=1048576
fs.file-max=52706963
fs.nr_open=52706963
net.ipv6.conf.all.disable_ipv6=1
net.netfilter.nf_conntrack_max=131072
生效
sysctl -p /etc/sysctl.d/kubernetes.conf
8.启动minikube
minikube start --force --driver=docker
出现
* Centos 7.9.2009 (kvm/amd64) 上的 minikube v1.18.1
! minikube skips various validations when --force is supplied; this may lead to unexpected behavior
* 根据用户配置使用 docker 驱动程序
* The "docker" driver should not be used with root privileges.
* If you are running minikube within a VM, consider using --driver=none:
*   https://minikube.sigs.k8s.io/docs/reference/drivers/none/

X Requested memory allocation (1837MB) is less than the recommended minimum 1900MB. Deployments may fail.


X The requested memory allocation of 1837MiB does not leave room for system overhead (total system memory: 1837MiB). You may face stability issues.
* 建议:Start minikube with less memory allocated: 'minikube start --memory=1837mb'

* minikube 1.24.0 is available! Download it: https://github.com/kubernetes/minikube/releases/tag/v1.24.0
* To disable this notice, run: 'minikube config set WantUpdateNotification false'

* Starting control plane node minikube in cluster minikube
* Pulling base image ...
* Creating docker container (CPUs=2, Memory=1837MB) ...
    > kubeadm.sha256: 64 B / 64 B [--------------------------] 100.00% ? p/s 0s
    > kubelet.sha256: 64 B / 64 B [--------------------------] 100.00% ? p/s 0s
    > kubelet: 108.73 MiB / 108.73 MiB [-------------] 100.00% 6.30 MiB p/s 17s
  - Generating certificates and keys ...
  - Booting up control plane ...
  - Configuring RBAC rules ...
* Verifying Kubernetes components...
  - Using image registry.cn-hangzhou.aliyuncs.com/google_containers/storage-provisioner:v4 (global image repository)
* Enabled addons: storage-provisioner, default-storageclass

! /usr/local/bin/kubectl is version 1.24.1, which may have incompatibilites with Kubernetes 1.20.2.
  - Want kubectl v1.20.2? Try 'minikube kubectl -- get pods -A'
* Done! kubectl is now configured to use "minikube" cluster and "default" namespace by default
就完成了
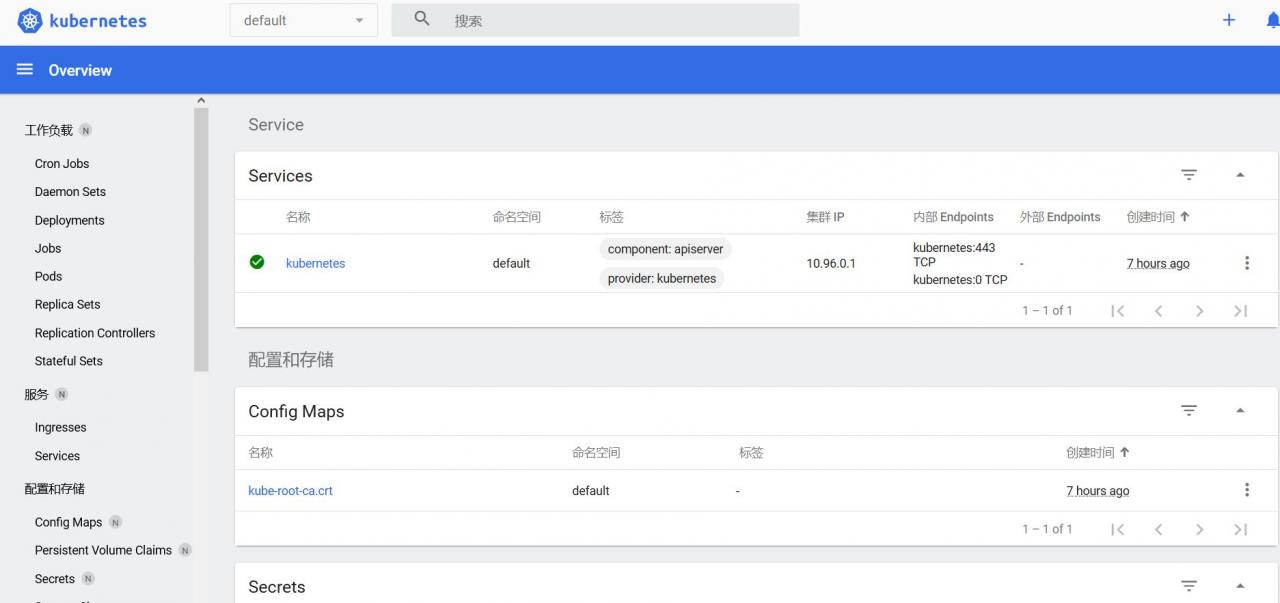
访问k8s监控界面
minikube dashboard --url
获取本地访问路径

启用访问代理
kubectl proxy --port=45396 --address='0.0.0.0' --disable-filter=true --accept-hosts='^.*'

最终访问地址就是 主机ip:45396 和 dashboard访问地址
如:
http://www.xmspace.net:45396/api/v1/namespaces/kubernetes-dashboard/services/http:kubernetes-dashboard:/proxy/
浏览器打开

OK咯


